
Render Headless
DOWNLOAD: renderHeadlessDemo.gsz
DATE: 19.06.2009
AUTHOR: M. Henke
DESCRIPTION: Demonstrates how to run GroIMP headless (without a GUI) and how the internal model can be automatically run in several steps.
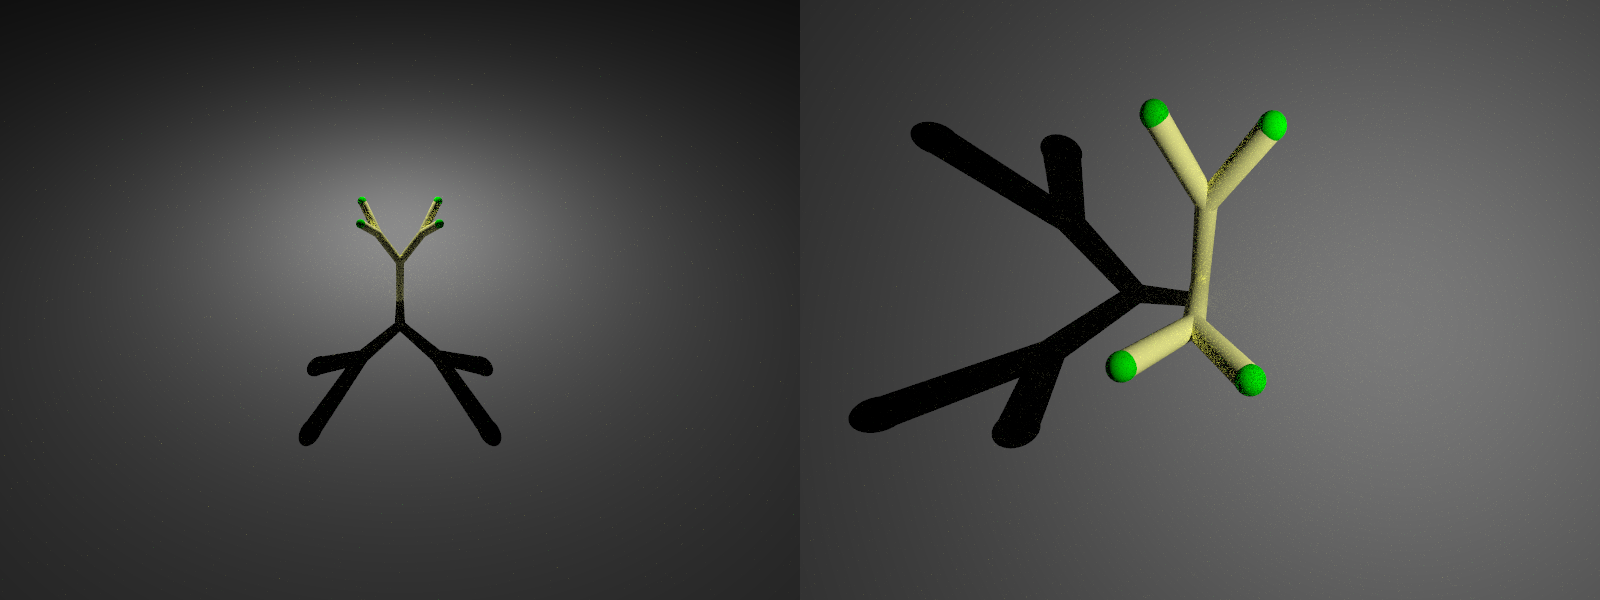
Furthermore at each step the actual scene will be rendered from two viewing directions and the result images will be saved. The command line to run GroIMP headless is the following:
Furthermore at each step the actual scene will be rendered from two viewing directions and the result images will be saved. The command line to run GroIMP headless is the following:
//###########################################
java -cp BASE/XL-Core/build:BASE/Utilities/build:BASE/Graph/build:BASE/Platform-Core/build -Xmx1000m -Djava.util.prefs.userRoot=USERDIR de.grogra.pf.boot.Main –project-tree –headless –debug=INFO MODEL.gsz 2> ~/render_out.txt
java -cp BASE/XL-Core/build:BASE/Utilities/build:BASE/Graph/build:BASE/Platform-Core/build -Xmx1000m -Djava.util.prefs.userRoot=USERDIR de.grogra.pf.boot.Main –project-tree –headless –debug=INFO MODEL.gsz 2> ~/render_out.txt
//###########################################
where you have to insert for the:
– BASE … the GroIMP path
– USERDIR … your root directory
– MODEL … the name of the model you want to start.
HOW IT WORKS: To run GroIMP headless you have to insert two methods. The startup()-method, which is run automatically when a GroIMP-model runs and the run(Object info)-method, which is the “new” run-method.
The run(Object info)-method mainly just calls another method where the real work will be done. In this other method we have get a loop where we derive one step and call the render-method for several times.
The renderImages()-method finally calls twice the renderer from two different viewing directions and saves each result image as exr-file.
To insert additional cameras, open the Camera by Panels -> Explorers -> 3D -> Cameras and add a new camera by choosing Object -> new. The new camera can be used afterwards and identified by this name.